I’ve always been a hopeless stargazer, but for a long time I used to think that getting nice photos of the starry skies was some form of obscure sorcery. I changed my mind a few years ago after I got my first full frame camera.
I currently use Canon EOS 6D and two fixed lenses (50 mm and 24 mm) from the Sigma Art series. These lenses are very light sensitive and able to pick lots of intricate detail from the night sky – more than seen with the naked eye. I wouldn’t call myself an expert on astrophotography, but over the years I’ve learned some practical tips and approaches. If you’re interested in taking starry photos but don’t know where to start, keep on reading!

Location and Light Pollution
If you’re able to visit somewhere in the countryside where it gets completely dark at night (and I mean totally pitch black) that’s where you want to to start practising star photography.
Finland is a sparsely populated country, and many of us Finns can arrange access to a secluded summer cottage in the middle of the woods, by the sea or a lake. Wild camping might be a good option, if you’re into that. If you can, choose a place where you can stay overnight, as it might turn out tricky having to navigate back home during the darkest hour, in a place without streetlights.

For many people these days it’s going to be tricky finding a location that’s completely free of light pollution, unless you’re willing to travel. Cities, towns, highways, sporting venues and any other sources of artificial light affect dozens of kilometres in each direction. Light pollution blocks starlight and distorts the colours in your photos as well. A light pollution map gives you a general idea if there are suitable places near you.

Milky Way in Sammatti, 75 km from Helsinki
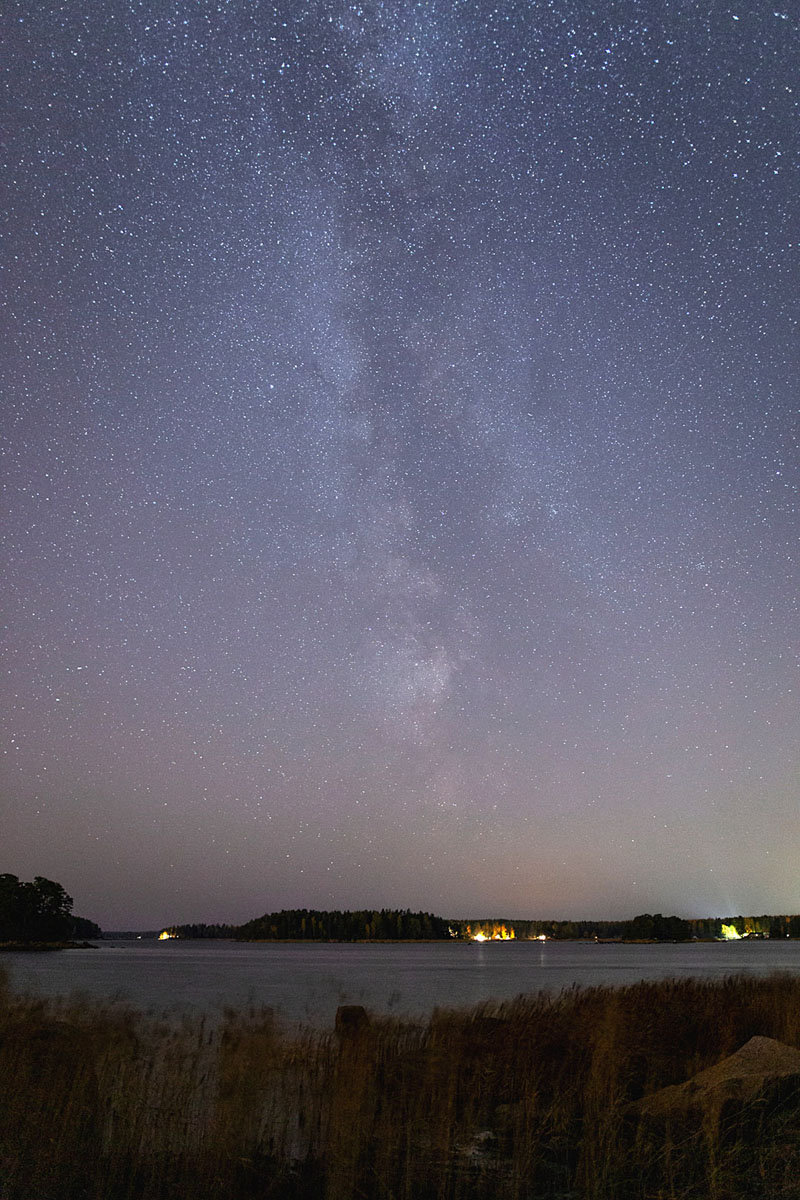
It could be worthwhile to explore night photography around your neighbourhood, despite light pollution. I usually photograph the night sky about one hour drive away from the city of Helsinki, but I’ve taken some photos less than 10 km away from the city of Kotka, for example, and last year I even did a night sky photoshoot at the quieter corner of Lauttasaari island, which is just three kilometres from the Helsinki city centre. Sometimes the glow of the city lights can even act as part of your photo’s aesthetics. Below you can see a couple photos affected by light pollution, which turned out nice after a bit of post-processing.

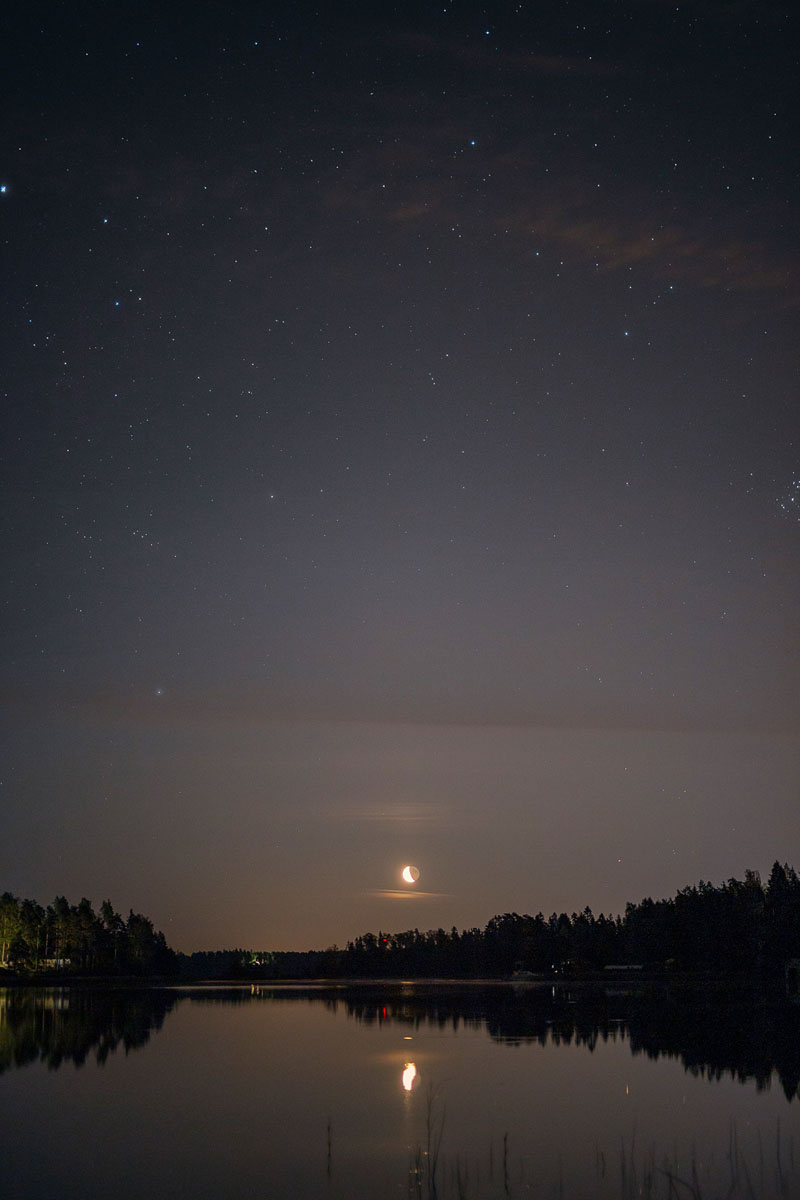
Timing: New Moon in Autumn
Here in the north the best time for star photography is autumn, from late August onwards when the evenings are dark but the weather is not too freezing yet. Just check that the forecast is clear, and wait a few hours after sunset until it’s the darkest time of the night.
The Moon reflects a lot of light which will block most of the stars from showing, so ideally plan your star photoshoot when there’s less than half of the moon visible. If you want to photograph the Milky Way, it’s best to pick a night during the new moon, that is when the Moon isn’t showing at all.
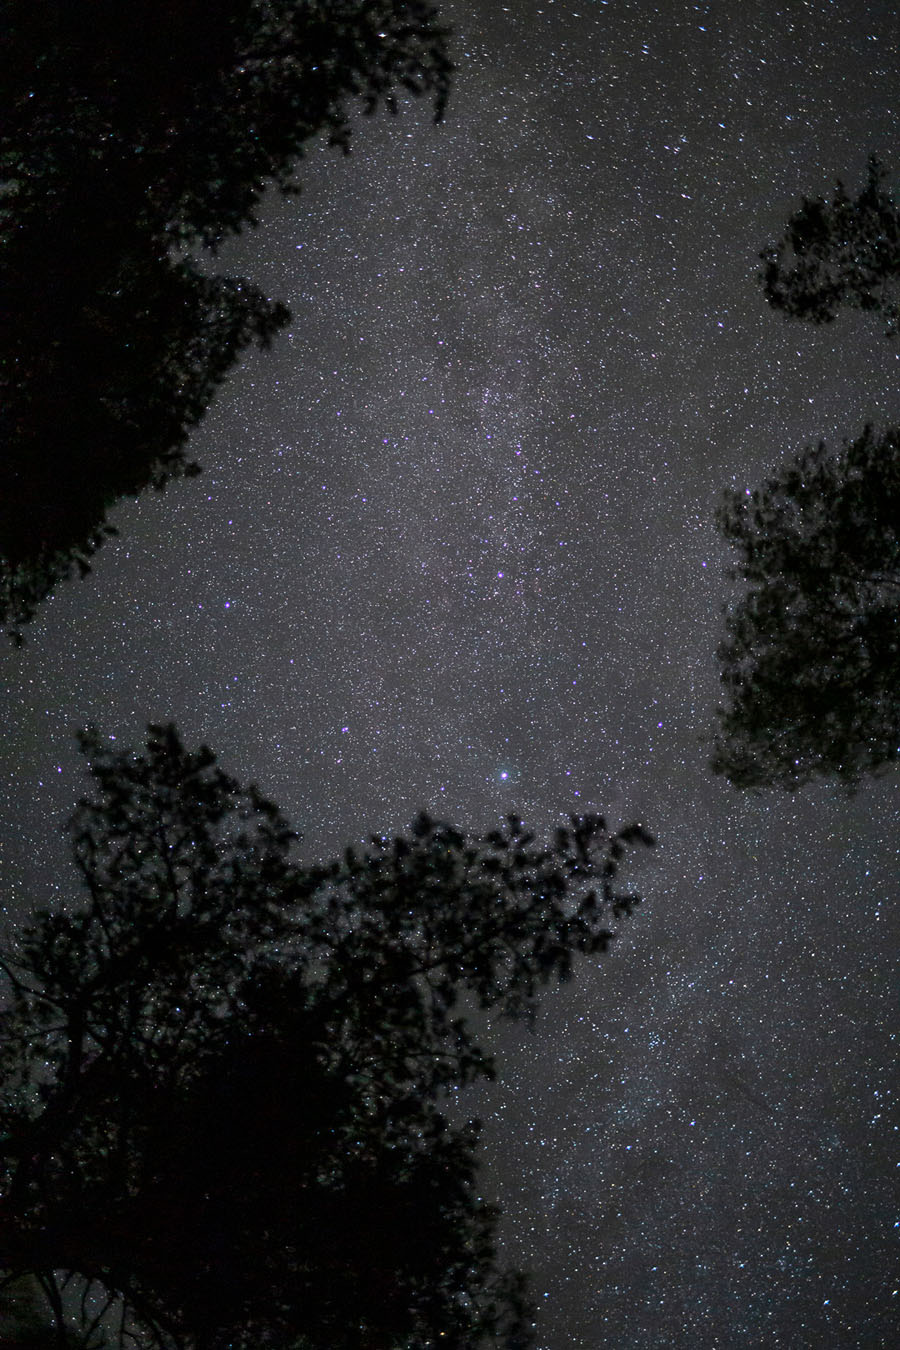
A sky map reveals the position of the galaxy on any given moment, so you can plan when and where to point your camera. An old school way is to use a compass with a printed planisphere, but nowadays you can use digital star map on your smartphone, which is far more practical. I use a Finnish star map at the Ursa Astronomical Association’s website (Ursan tähtikartta) but you can find many other similar websites and apps for different locations and languages.
Camera and Lens
Full frame cameras are great for photographing the night sky, because they produce better quality and larger field of view than cameras with a cropped sensor. I use my trusty Canon EOS 6D, but you’ll get good results with many other camera models as well.


Comparison between 24 mm, 50 mm and 50 mm panorama
The lens that you use determines the angle of view in your compositions and changes how far away the subject seems to be. Wide-angle lens (35 mm, 28 mm or 24 mm) is usually a solid choice for photographing starry skies – the smaller the number, the wider the angle. With an ultra wide angle lens (shorter than 24 mm) you can fit very large portions of the sky and landscape into your photo at once. Normal lens (50 mm) brings things closer, focusing on details rather than the big picture – this creates a more intimate atmosphere. It’s also possible to create a wider panorama image from several photos, but it requires a bit more effort.
Most of my photos are taken with a 50 mm normal lens, mainly because that was my one and only objective for several years. I recently got a second lens which is 24 mm wide-angle. I haven’t had the chance to try it in a really dark location yet, but hopefully I’ll have that opportunity sometime later this year. I personally like lenses with fixed focal length, because they tend to be sharper, faster and more sensitive to light compared to zoom lenses within the same price range.

Because starlight is very faint, you need a lens that is very sensitive to light to get the most out of the night sky. Choose a lens with wide aperture, somewhere between f/1.4 and f/4. The lower the f-number, the wider the aperture is and the more light passes through the lens. If you use a bit narrower aperture (higher f-number), you will respectively need to set longer exposure time and higher ISO.
Don’t forget the two must-have pieces of additional equipment: a tripod and a headlamp. You might also need a spare battery and extra layers of warm clothing (gloves!) if it’s chilly outside. A remote camera shutter might be handy too, but it’s optional.
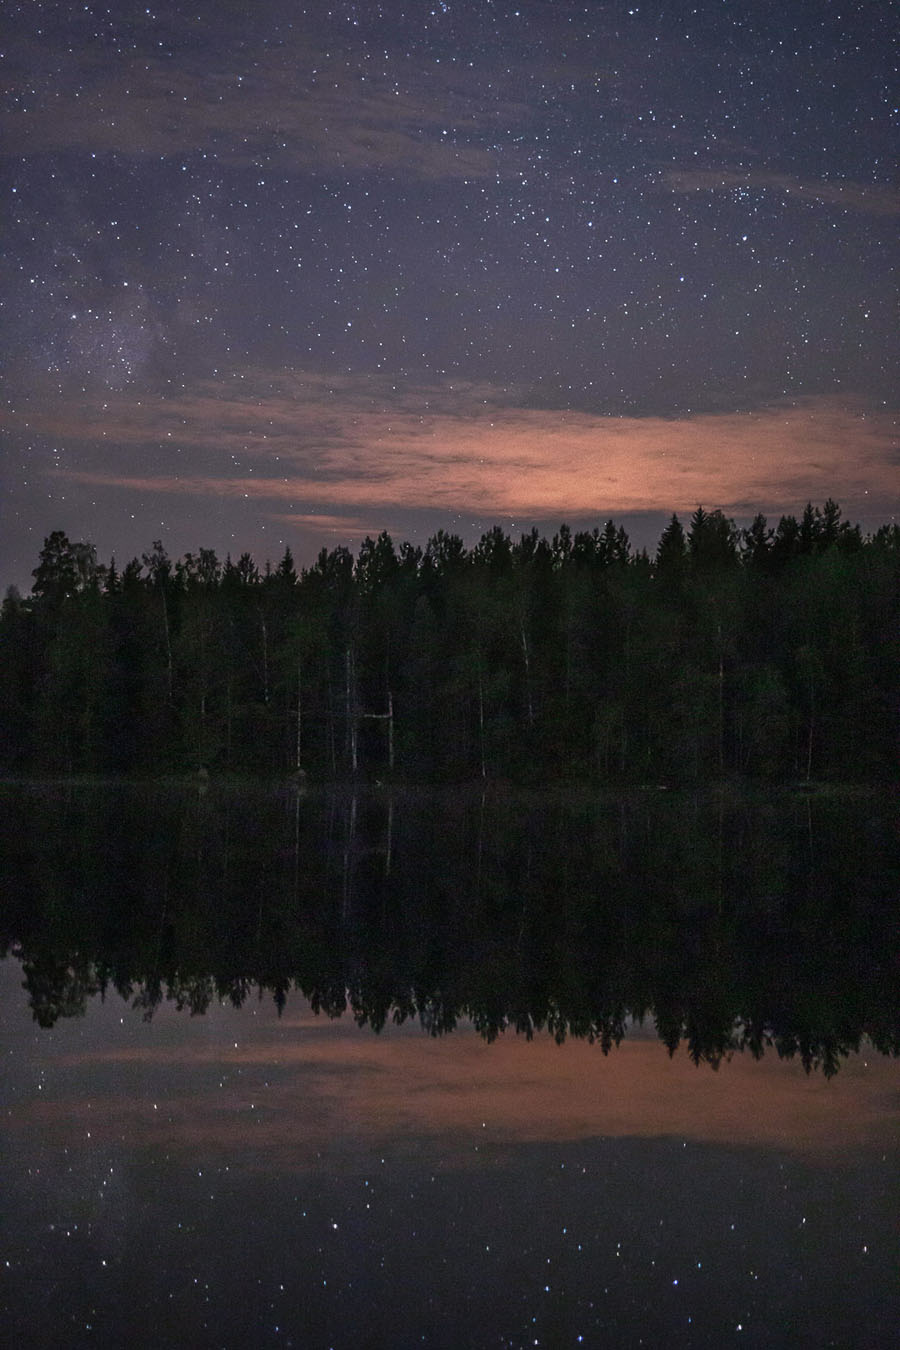
Manual Camera Settings
Firstly, set your camera in manual mode, and shoot in RAW format. You may also want to go over your camera menu in advance and turn off some of the default settings that you don’t need, like highlight tone priority.
If you’re not using a remote shutter, remember to set a delay using the 2-second timer. If you just press and release the shutter button normally without a timer or a remote, your hand movement will slightly jerk the camera and you’ll end up with blurry photos.
Use the manual focus (MF) and set it to infinity. You can zoom in on a single star in the live view screen, and then adjust the focus manually until the star seems as sharp as possible. However, I always turn the live view off before taking the actual photo, I find the shutter works better that way.

50 mm, f/1.4, ISO 8000, 3.2 sec
Choose the widest possible aperture on your camera (smallest f-number). The ISO value should be high, typically between 800–8000. Exposure time needs to be significantly longer than in daytime photography, usually somewhere between 2–25 seconds, depending on the focal length. You know that your exposure is too long, when the stars will start looking like lines instead of dots.
All of these settings work in relation to each other. The higher the f-number, the higher the ISO value needs to be. Higher f-number also requires slower shutter speed. Optimal shutter speed for star photography depends on the focal length: 50 mm lens requires shorter exposure time than a wide-angle lens.


Left: 50 mm, f/1.4, ISO 1600, 2.5 sec
Right: 50 mm, f/1.4, ISO 8000, 3.2 sec
Before making this article I was under the impression I had done more astrophotography with different shutter speeds and aperture, but turned out that nearly all my favorite shots were taken with 3.2 sec exposure and f/1.4 aperture – so I guess those are my personal favorite settings for the 50 mm lens. (That said, I do have a habit of taking very dark photos, relying on post-processing to adjust an optimal brightness – mainly because I’ve done so much hand-held photography during the deep evening dusk.)
There is no simple answer to which specific settings will work best for your equipment and situation. It’s a good idea to take a lot of test photos with different combinations of shutter speed, ISO, and aperture, to find out which combo you like best.
Composition
There are many aspects to composition in photography, but there are some simple approaches you can consider if you want to add variety in your starry photos.


Angle, direction and cropping: Change the distance of the viewed objects and how much surroundings are included by choosing a lens with wider or narrower angle, or by changing your location and camera position. Point your camera upwards, shoot from knee height, or climb at the top of a cliff! I usually take vertical photos, but horizontal view works too, especially if you use a wide-angle lens. And don’t forget the cropping tool – it’s a simple but effective way to refine your composition when needed.
Main subect and additional elements: Photos of the night sky alone tend to get repetitive, so it’s nice if you can frame the stars with trees or other elements. Create variety by changing which element you focus in your photo: the main subject could be the Milky Way, a specific constellation, the moon, or even just a single bright star/planet. Or it could be something else in the environment, like a house or a tree, with the night sky as a complementary background. Note that objects will need to stay very still in order to be captured with long exposure. And if you’re looking for ways to improve sharpness on foreground elements, you may want to look up double exposure technique.

Post-Processing
I’m not going to go into the details of photo editing in this post, but I still wanted to mention it, because for me it’s an important part of night photography. When you shoot with RAW mode, your image files will consist of much more data than meets the eye at first. Even if your photos initially seem too dark, or if there is strange discoloration, you may still be able to fix them once you transfer your photos on your computer and edit them.
I use Camera Raw and Photoshop to edit all my photos. Some shots only need a bit of adjustment, while others may require highly complex work to come out just right. It’s also a matter of context and personal taste, really – sometimes I enjoy a more realistic dark photo, but I also find a lot of aesthetic pleasure in editing that reveals the hidden secrets in the night sky.

Text and photos © Ulla Thynell
Follow Ulla Thynell art & photography
on instagram: @ullathynell
